
B.1 Onboarding
1. Registration Page (Sign Up for Parents)
This page is used by parents to create a new account before accessing the system and creating their child(ren) account to use Homework-Buddy app. The page contains a form with input fields for first name, last name, email, password, and password confirmation.
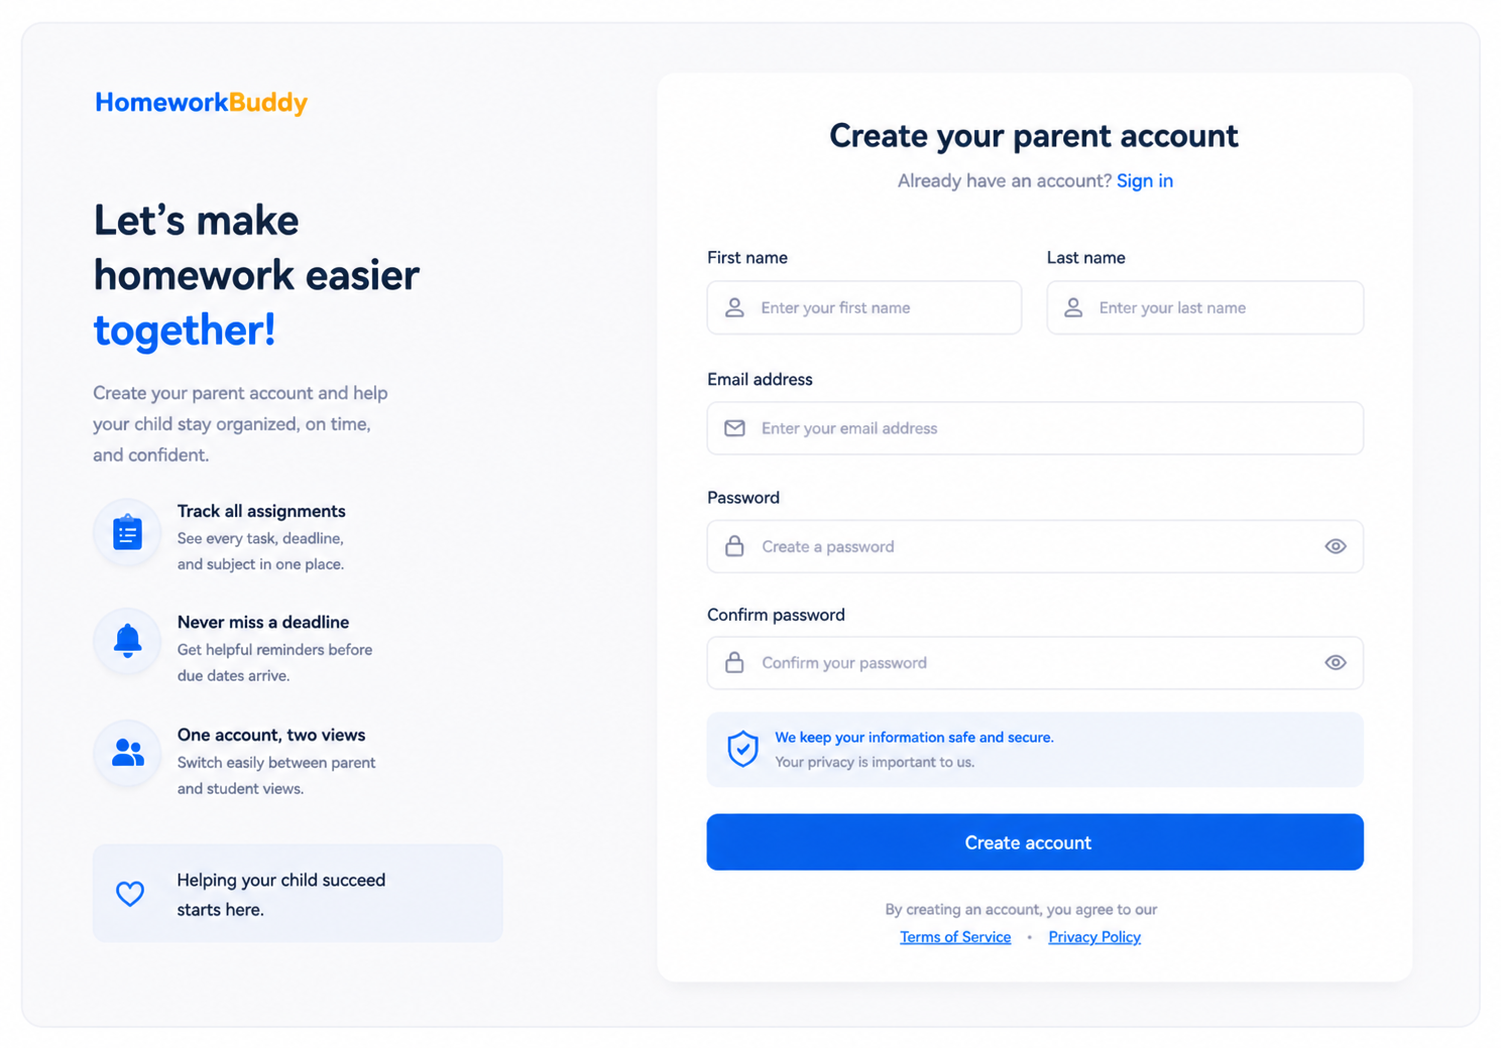
Image B.1.1 Creating a Parent Account
After a successful registration, users will get a confirmation link (via email) and redirected into the onboarding process.
2. Email Confirmation Page (Account Verification)
After submitting the registration form, the system sends a confirmation email containing a verification link to the user’s registered email address. The user must click on the link to confirm their account. Upon successful verification, the user will be redirected to the onboarding process or Complete Your Setup page.
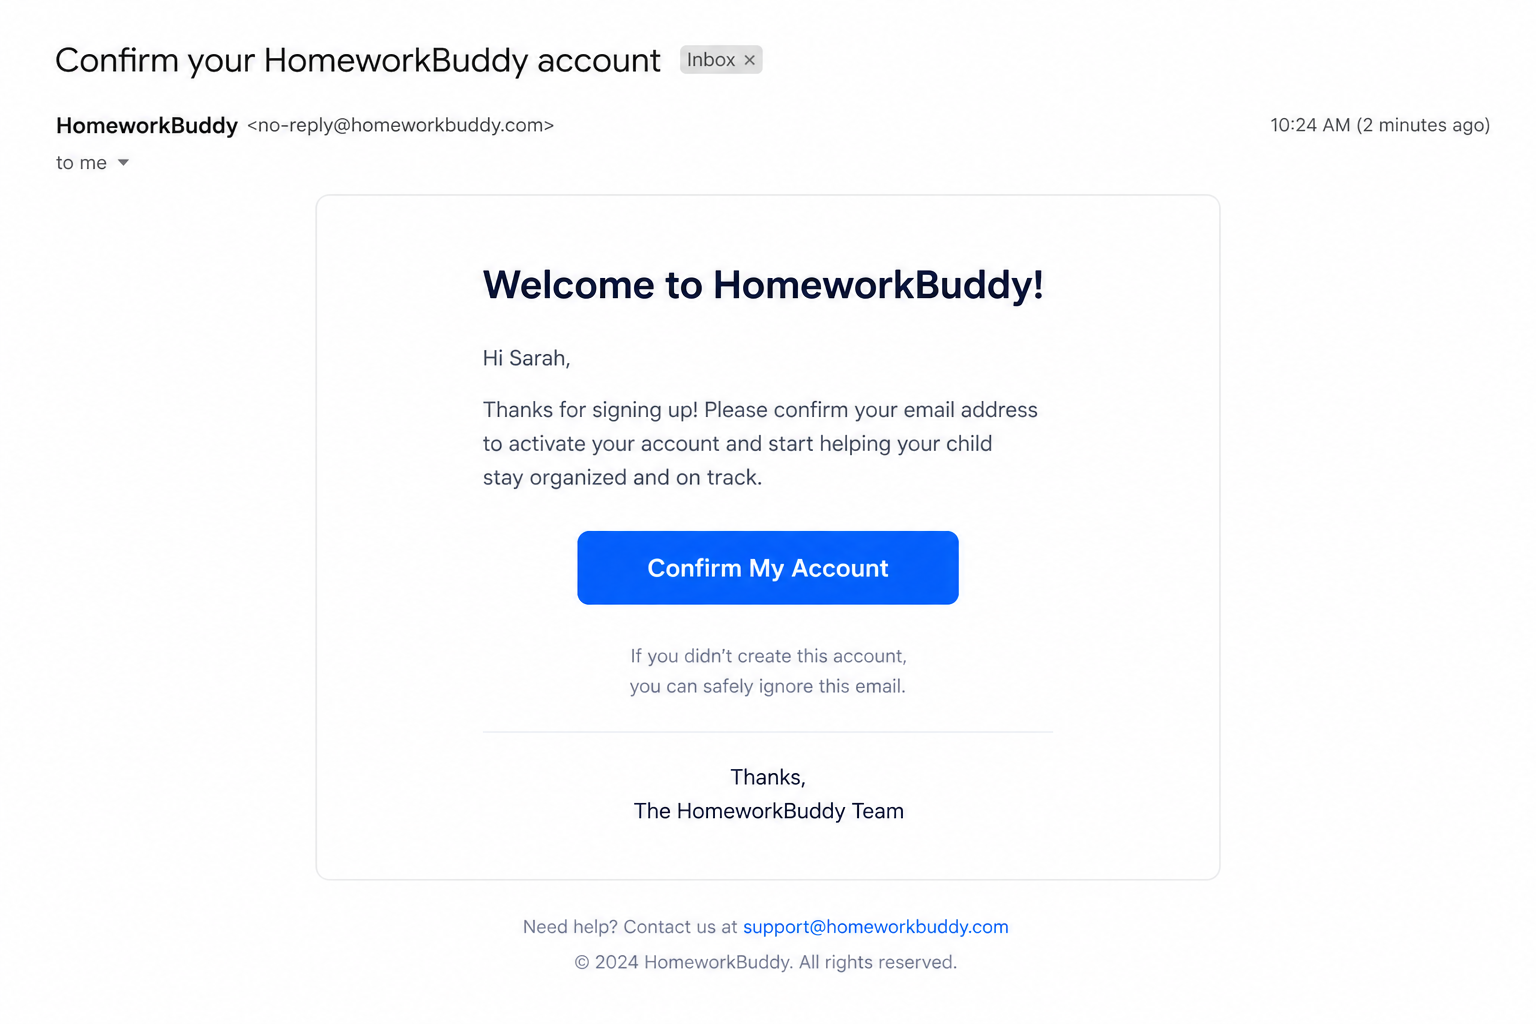
Image B.1.2 Post-Registration Email Message
3. Complete Your Setup Page
This page is the final step of the account setup process after the parent has successfully confirmed their email. It is designed to collect essential information and complete the onboarding before the user can start using the platform.
The page is divided into two main sections: Parent Details and Child Registration, making the flow clear and structured.
In the Parent Details section, users are required to provide basic personal information such as;
- first name
- last name
- email address,
- phone number (optional)
- complete address
The address fields include address line 1, address line 2 (optional), city, state or province, postal/ZIP code, and country. This information helps ensure accurate records and supports future communication or service personalization.
The Register Your Child(ren) section allows parents to create accounts for their children. Each child's entry includes;
- first name,
- last name
- email or username
- password
- password confirmation
- gender
- grade
- year of birth
- school name - the ID or name of the school as given by WebUntis
- username - the child's username in WebUntis
- password- the child's password in WebUntis
Those included to better tailor the experience for each child based on their profile. Parents can also add multiple children or remove entries as needed, making the process flexible. After clicking the create account button, the page will be redirected to the dashboard.
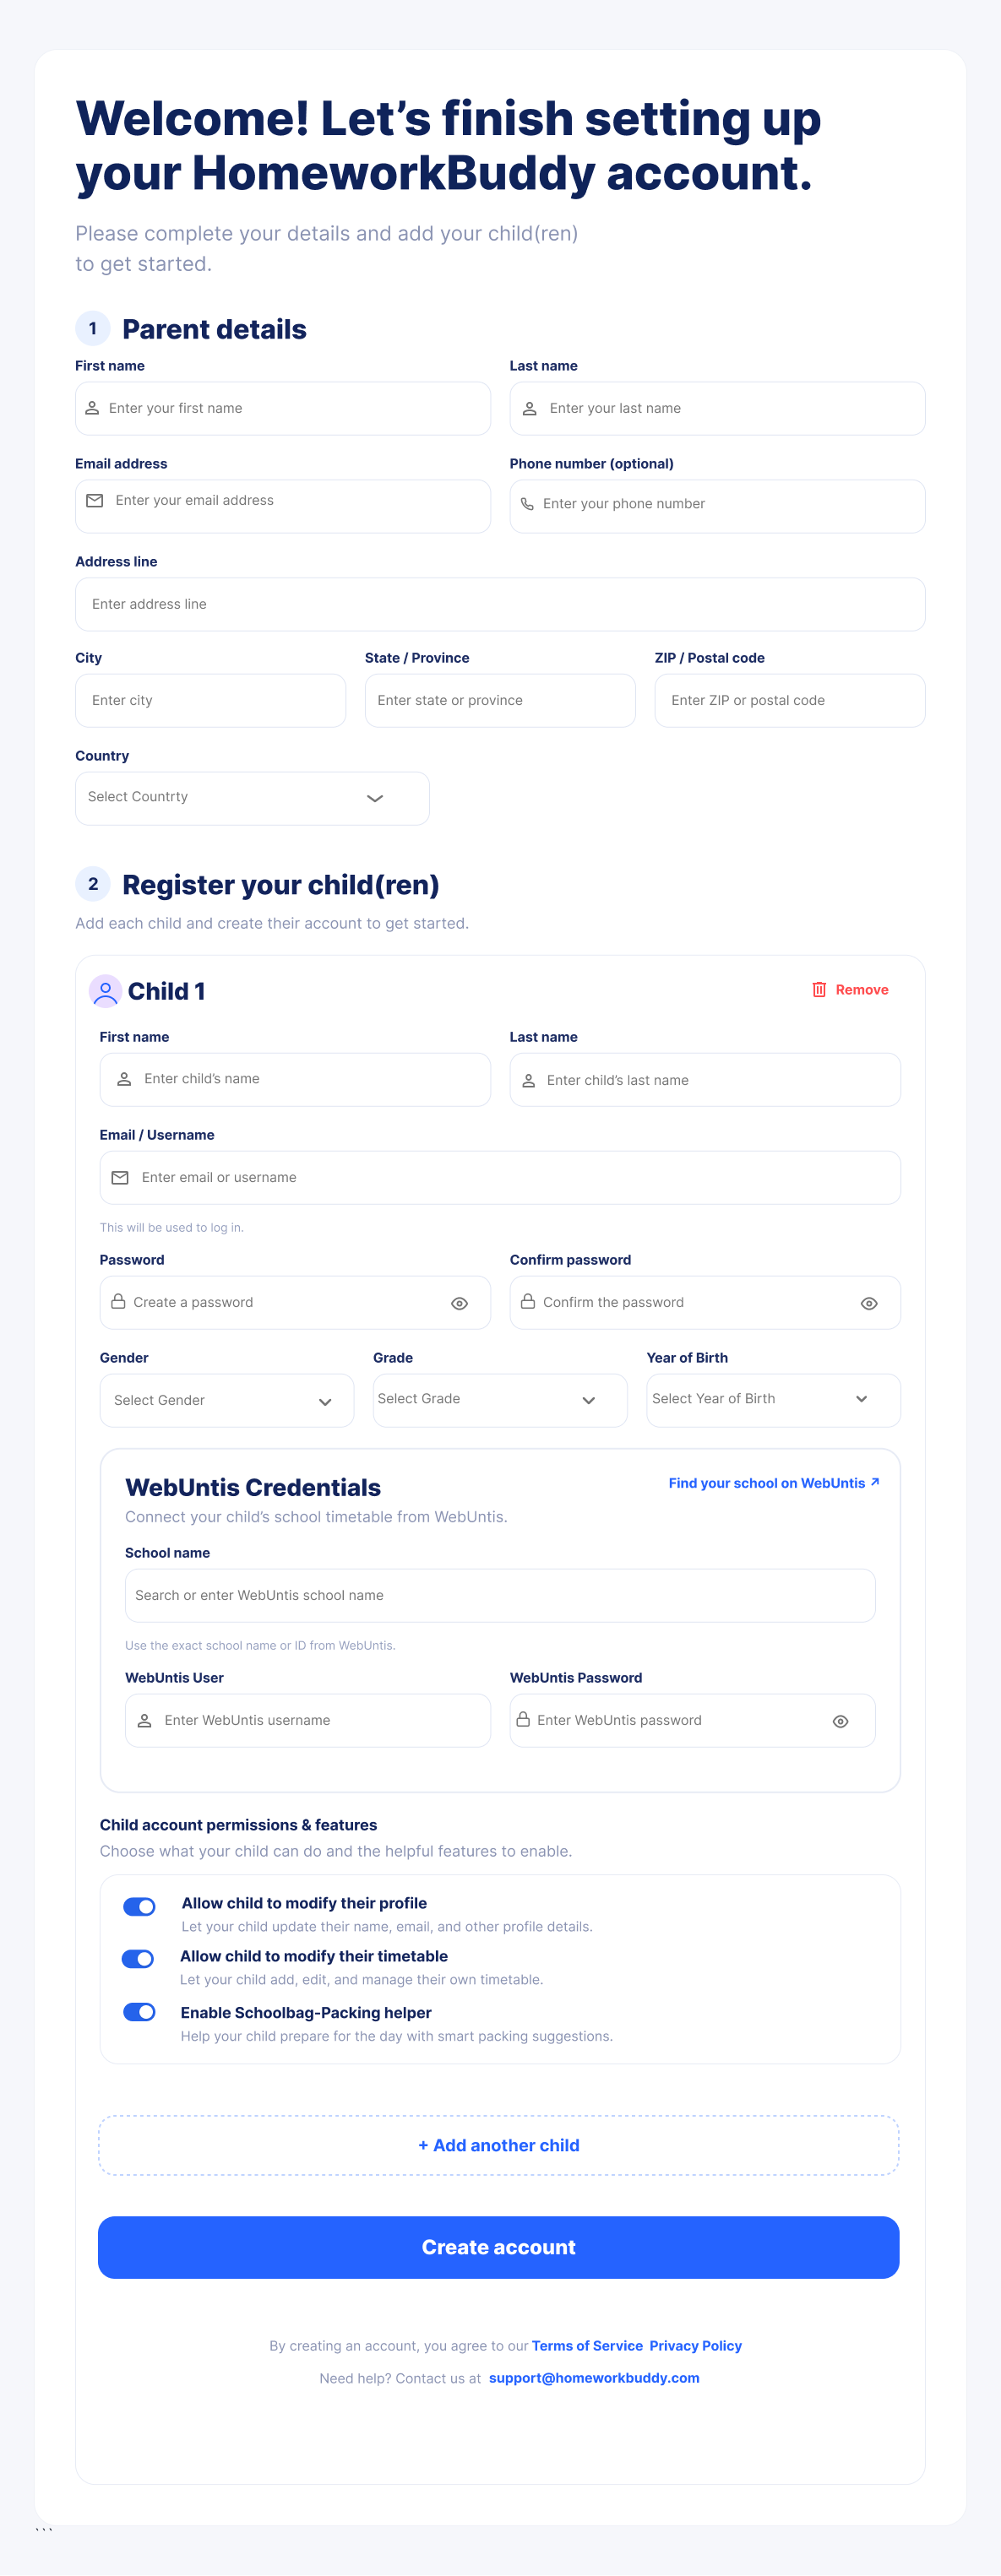
Image B.1.3 Registering Children for Students' Account
No comments to display
No comments to display